
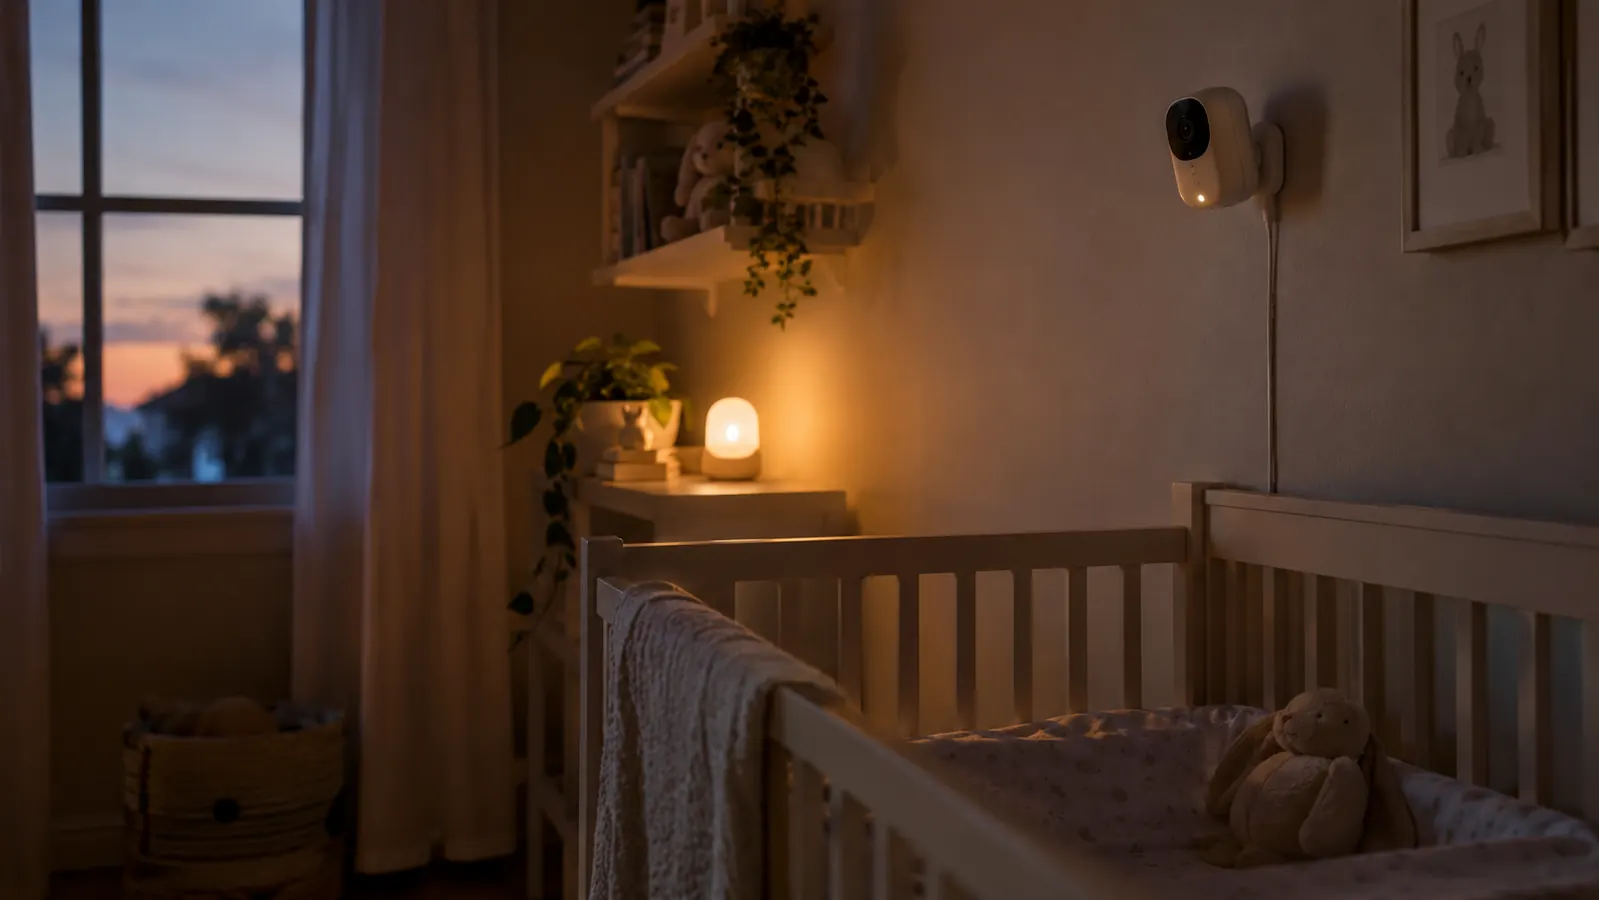
The night we brought June home from the hospital, I set up the video baby monitor we had registered for, and I did it wrong. The camera sat too close to the crib, the angle caught nothing but the top of her head, and the parent unit died by 2 a.m. because I had never plugged it in. I spent the next hour tiptoeing into her room every few minutes, which defeated the whole point of a monitor. If you are about to do this for the first time, I want you to skip that version of the night. Here is how to set up a video baby monitor in the nursery the right way, the first time.
We use the Infant Optics DXR-8 PRO, and it has been a steady, boring, dependable piece of gear for eight months now. That is a compliment. It does not connect to WiFi, it does not have an app, and it does not try to be a smart speaker. It is a camera and a screen that talk to each other, and that is exactly what I wanted for a newborn nursery. This guide will work with most video monitors, but I will point out where the Infant Optics settings made things easier.
The monitor I set up in June's nursery
The Infant Optics DXR-8 PRO is the non-WiFi video monitor we have used every night for eight months. It has a 5-inch screen, pan and tilt controls, and a camera that stays put once you aim it.
Amazon Check Today's Price on Amazon →Step 1: Choose the camera spot before you mount anything
Walk into the nursery and stand where you will actually stand when you check the monitor. For us, that is the doorway. Then look at the crib from that spot. You want the camera high enough to see the whole sleep space, but not so high that you are looking straight down at the top of a head. A corner of the room, about six to eight feet from the crib, usually gives the best view. You should be able to see the baby's face, the whole mattress, and enough of the room to know what is going on. I measured ours at about seven feet from the crib, and that distance shows the whole mattress plus a slice of the door. Closer than that and you see the baby's face but not the rest of the sleep space. Farther and the image gets small enough that you will zoom in constantly, which gets old fast.
The Infant Optics camera has a wide-angle lens and a pan and tilt base, so you have some room to adjust after it is mounted. That flexibility saved me. The first spot I picked looked perfect from the floor, but once the camera was up, the angle cut off the far side of the crib. I loosened the mount, nudged it a few degrees, and tightened it again. Give yourself that same permission to adjust. I spent a full afternoon testing three spots before I settled on the corner. The first was too close, the second sat behind the mobile so a shadow swung through the picture, and the third was the one that stuck. Thirty minutes of moving and remounting, and it was worth every minute.
One rule I follow: keep the camera out of the baby's reach and keep cords away from the crib. The camera should be mounted high, and any cord should be secured along the wall or baseboard, never dangling near the mattress. This is not about the monitor being dangerous. It is about the sleep space staying as simple as the safe sleep guidelines recommend: a flat firm mattress, a fitted sheet, and nothing loose in the crib.
Step 2: Mount the camera the way the manual says, not the way feels faster
The Infant Optics DXR-8 PRO comes with a mounting bracket that screws into the wall or the top of a bookshelf. Read the manual for the exact steps, because the bracket has a specific orientation and the camera clicks into it a specific way. I skimmed the manual the first time and ended up with the camera upside down in the bracket, which I did not notice until I turned the parent unit on and saw the ceiling.
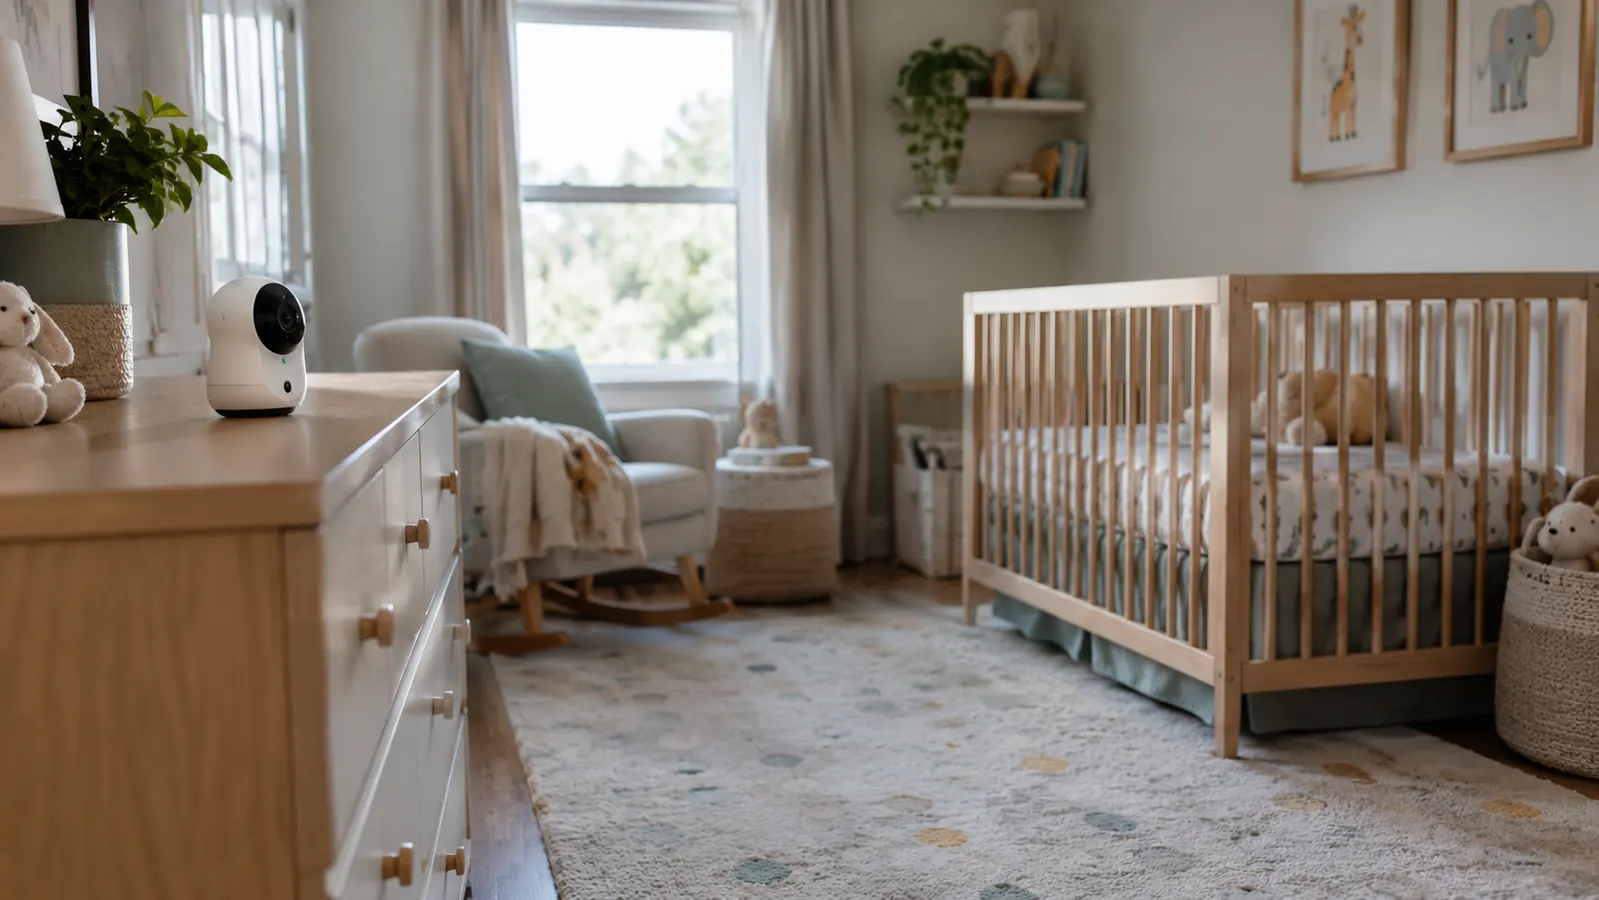
If you are renting, like we were when Eli was a baby, you can skip the screws and set the camera on a sturdy flat surface. A dresser across the room works well. Just make sure the surface is stable, the camera is not near the edge, and the cord is tucked out of the way. The camera does not need to be mounted to work well. It needs to be stable and aimed correctly.
When you do use the wall mount, find a stud or use the anchors that come in the box. A camera that falls off the wall at 2 a.m. is not a fun discovery. Mike mounted ours while I held the level, and it took about ten minutes total. This is a two-person job if you can manage it, mostly because one person can watch the parent unit and tell the other person when the angle looks right.
Step 3: Plug in the camera and the parent unit, then pair them
The DXR-8 PRO camera plugs into the wall with the included adapter, and the parent unit has a rechargeable battery. Plug both in before you do anything else. The biggest mistake I made with our first monitor was assuming the parent unit came charged. It did not, and I learned that lesson at 2 a.m. when the screen went dark. Now I plug the parent unit in every evening when I put June down, so it is always topped off. The first time with Eli, I skipped the manual and plugged in only the camera, then spent ten confused minutes pressing buttons on a parent unit with no charge left. With June, I charged both units fully the afternoon before we brought her home. That extra hour of planning meant the monitor was ready the moment we walked in the door.
Pairing the camera and the parent unit is usually automatic with the Infant Optics. Turn the parent unit on, and it should find the camera within a few seconds. If it does not, the manual has a pairing mode that takes about thirty seconds. Do this while the camera is already mounted and aimed, so you can confirm the picture looks right before you walk away. When I set ours up, the camera paired on the first try, but the picture was upside down because of the bracket mistake I made in Step 2. Fixing the bracket took less than a minute. Fixing it after everything was tucked away would have taken ten.
This is also the moment to set the clock on the parent unit. It sounds small, but when you wake up at 3 a.m. and glance at the screen, you want to know how long the baby has been asleep without doing mental math. The Infant Optics screen shows the time and the room temperature, and both are worth having.
Step 4: Aim the camera and set the alerts
With the camera mounted and paired, use the pan and tilt controls on the parent unit to frame the shot. You want the baby's face and chest visible, with the whole mattress in frame. The DXR-8 PRO has a 5-inch screen that is bright and clear, so you can actually see details like whether the baby's chest is rising and falling. That clarity is the whole reason I wanted a video monitor instead of just an audio one.
Then set the alerts. The Infant Optics has a sound alert that beeps when the baby makes noise, and a vibration mode on the parent unit. I use the sound alert on the lowest sensitivity, because June is a noisy sleeper and the default setting went off every time she sighed. The vibration mode is what I use during the day when I am in the kitchen and the parent unit is sitting on the counter. I ran the default settings for the first two nights and got maybe three hours of sleep total, because the alert fired on every grunt and stretch. Switching to the lowest sensitivity changed everything. Now the alert only sounds when June is actually awake and fussing, which means I am not training myself to ignore the beep. A monitor you learn to tune out is useless, and I nearly built that habit in forty-eight hours.
Take a few minutes to test the range. Walk to the farthest corner of your house with the parent unit and make sure the picture stays clear. In our two-story house, the signal reaches from the upstairs nursery to the downstairs laundry room without dropping. That was the test that mattered to me, because I do not want to discover a dead zone at the moment I actually need the monitor.
Step 5: Do a safe sleep check and a night test
Before the first real night, do a final check of the sleep space from the camera's point of view. Look at the screen and confirm the baby is on their back, on a flat firm mattress, with nothing loose in the crib. No blankets, no pillows, no stuffed animals, no bumper pads. The monitor should help you see the sleep space clearly, not give you a false sense of security. It is a tool for checking, not a substitute for following safe sleep basics.
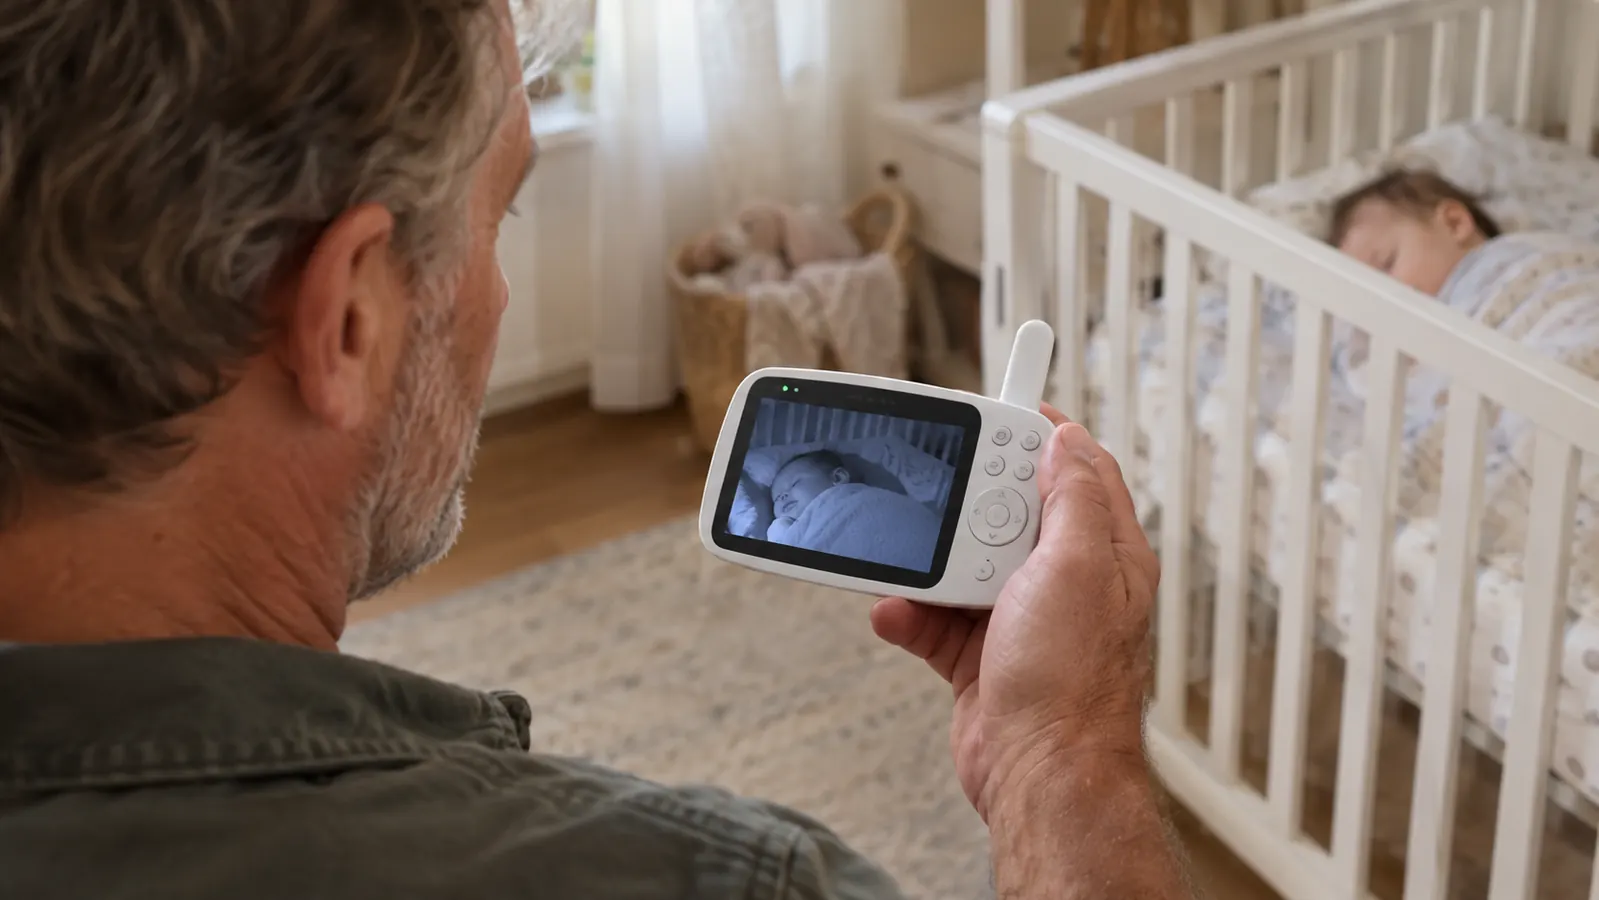
Then do a night test. Put the baby down for a nap, take the parent unit to the room where you will actually be, and watch how the picture looks in low light. The DXR-8 PRO has infrared night vision that switches on automatically, and it shows a clear black and white image in a dark room. That was the feature that sold me. I could see June's face clearly at 3 a.m. without turning on a light and waking her up. The first time I tested the night vision, June was four days old and I was still in the fog of those first nights. I carried the parent unit downstairs, sat on the couch, and watched her chest rise and fall on the screen for a full ten minutes before I believed it was real. That was the first moment I felt like I could be in another room of the house and still know exactly what was happening.
One more thing I wish someone had told me: the parent unit screen is a light, and it is bright in a dark bedroom. The Infant Optics has a screen dimmer and a sleep mode that turns the screen off while the audio stays on. I use the sleep mode every night. If the baby stirs, the screen lights up and the sound comes through. If the baby is quiet, the room stays dark. That is the setup that finally let me sleep.
What Else Helps
A video monitor does its best work when the rest of the nursery is simple. We keep a nightlight in the corner so the infrared image has a little something to work with, and we keep the room at a comfortable temperature because the monitor shows the room temp on the screen. I also keep the parent unit on the nightstand with the volume at a level I can hear but not jump at. The monitor is a tool, not a babysitter. It helps you check on your baby without opening the door, but it does not replace your eyes or your instincts.
The night vision on the Infant Optics is what sold me. I could see June's face clearly at 3 a.m. without turning on a light and waking her up.
Set up your nursery monitor the easy way
The Infant Optics DXR-8 PRO has been in our nursery for eight months, and it still does exactly what I need it to do. No WiFi, no app, no fuss. Just a clear picture and a sound alert that works.
Amazon Check Today's Price on Amazon →